DIY Cat Poles
Key Takeaways
- Building a cat pole can save money and provide a custom solution for your cat's needs.
- Choosing the right materials is crucial for safety and durability.
- Follow step-by-step instructions for a successful DIY project.
- Personalize your cat pole to match your home decor.
Creating a DIY cat pole is a rewarding project that not only saves you money but also caters to your furry friend's scratching and climbing instincts. In this guide, we will provide you with step-by-step instructions on how to make your own cat pole, including tips on materials and design. Let's get started!
Why make your own cat pole?
There are several reasons to consider making your own cat pole:
- Cost-effective: Buying a pre-made cat pole can be expensive.
- Customization: You can tailor the design to fit your space and your cat's preferences.
- Quality materials: You can choose high-quality materials that are safe for your pet.
- Fun project: It can be a fun and engaging DIY project for cat lovers.
Materials needed
Before you start building, gather the following materials:
| Material | Purpose |
|---|---|
| Wooden base (plywood, MDF) | Provides stability |
| Wooden posts (2x4 or similar) | Frame for scratching and climbing |
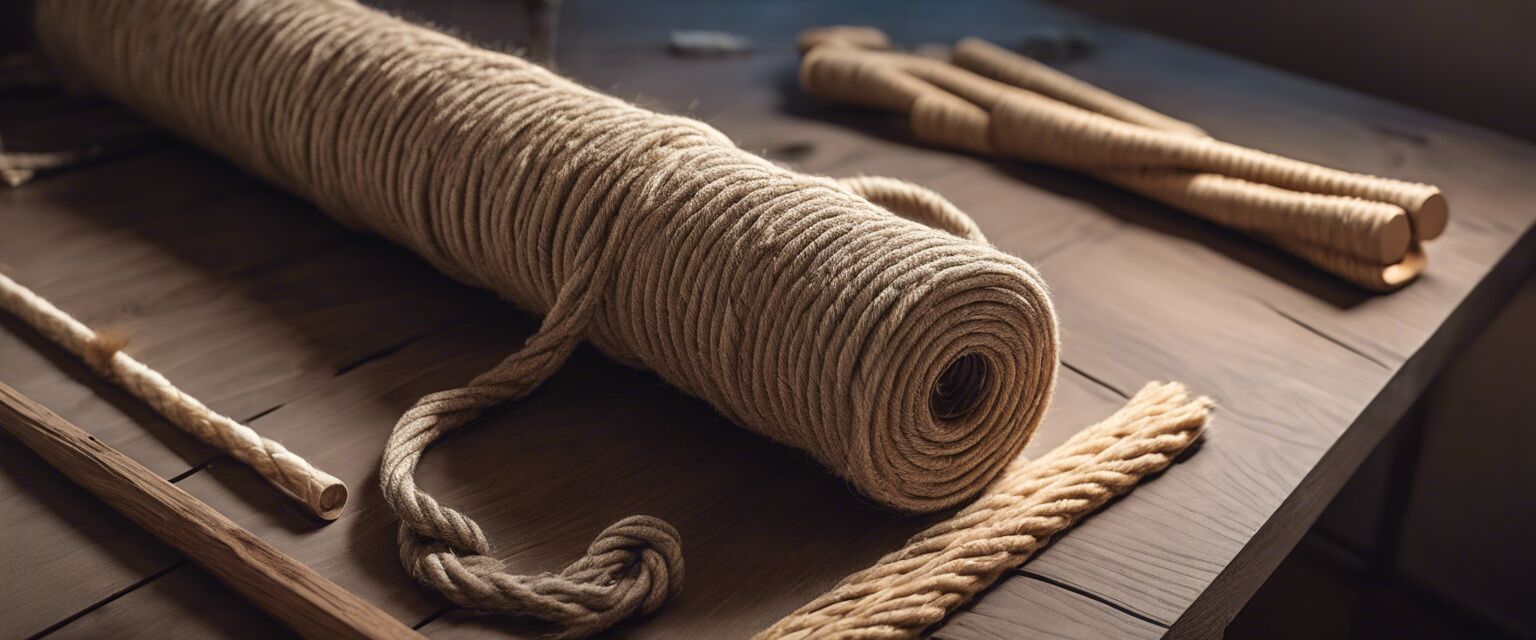
| Carpet or sisal rope | Surface for scratching |
| Wood screws | For assembly |
| Wood glue | For additional strength |
| Fabric or padding (optional) | For comfort and aesthetics |
Step-by-step instructions
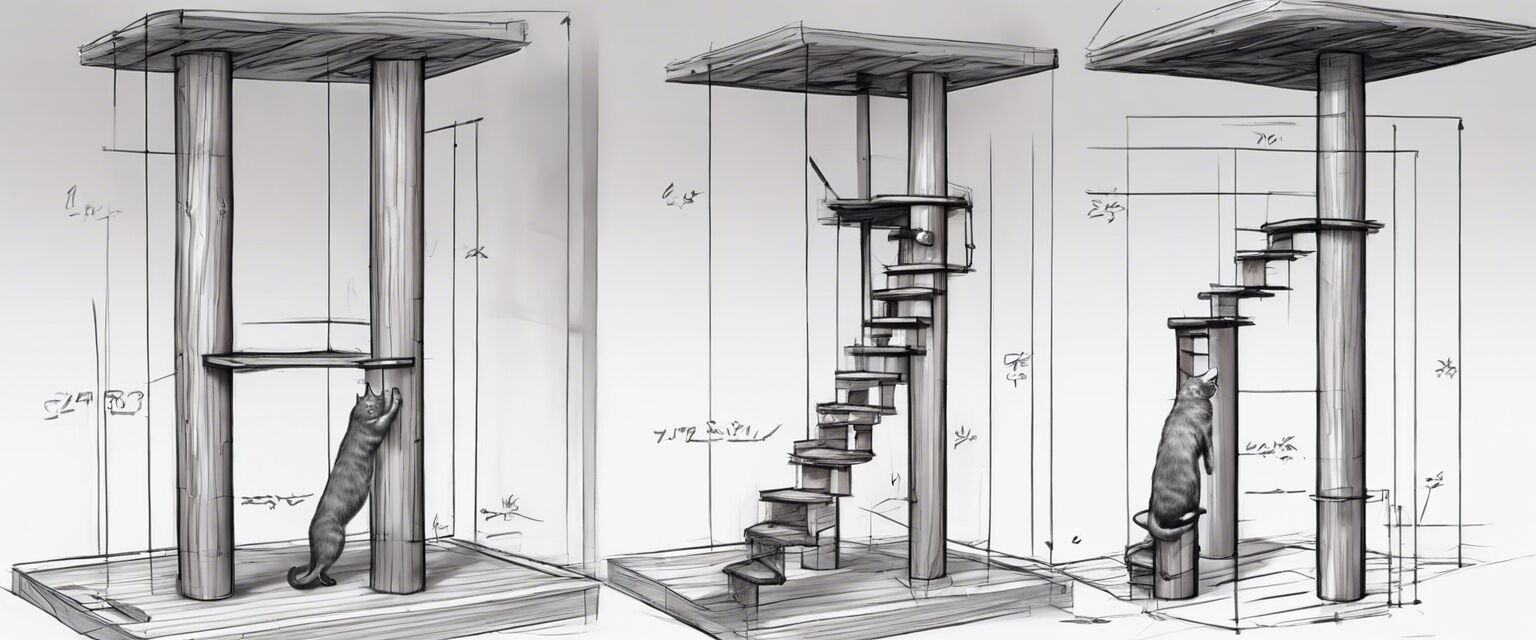
Step 1: Design your cat pole
Start by sketching a design for your cat pole. Consider the height and features your cat enjoys. Here are some ideas:
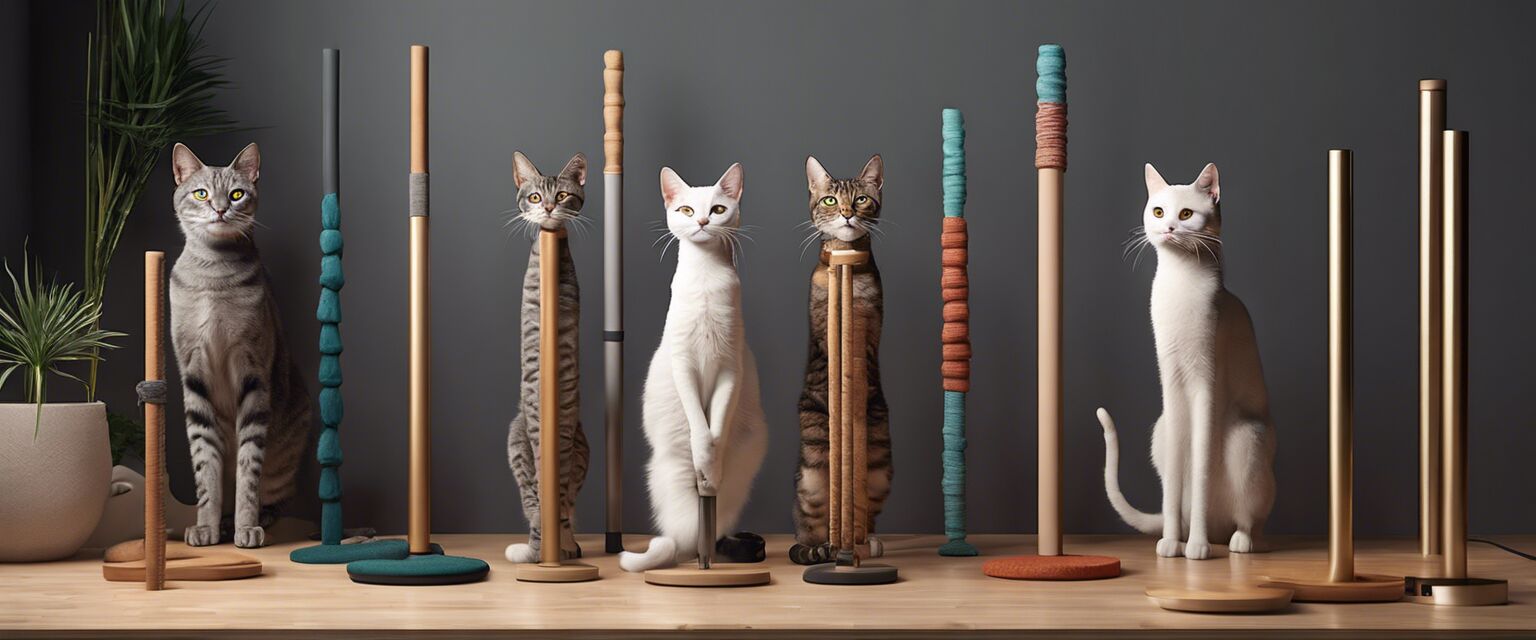
- Multiple levels for climbing
- Hiding spaces or cubbyholes
- Scratch pads on different surfaces
Step 2: Cut your materials
Using a saw, cut your wooden posts and base according to your design. Ensure all edges are smooth to prevent injury.
Step 3: Assemble the base and posts
Attach the wooden posts to the base using wood screws. For extra strength, apply wood glue before securing screws.
Step 4: Add scratching surfaces
Wrap sisal rope around the posts or attach carpet to create scratching surfaces. Make sure they are securely fastened.
Step 5: Personalize your cat pole
Use fabric or padding to cover any raw edges or to add comfort. You can also paint or stain the wood to match your decor.
Tips for success
Beginnerâs tips
- Start with a simple design if you're a beginner.
- Watch DIY videos for visual guidance.
- Always prioritize safety; check for any sharp edges.
- Involve your cat in the design process by observing their preferences.
Safety considerations
When creating your DIY cat pole, keep these safety tips in mind:
- Ensure all materials are non-toxic.
- Make sure the base is heavy enough to prevent tipping.
- Regularly inspect the cat pole for wear and tear.
Maintaining your cat pole
To keep your cat pole in top shape:
- Replace any worn scratching surfaces.
- Clean the cat pole regularly to remove hair and dirt.
- Check for loose screws or damaged parts and repair as necessary.
Conclusion
Building a DIY cat pole can be a fun and fulfilling project that enhances your cat's environment. With the right materials and following these steps, you can create a unique and safe space for your feline friend. For more cat-related projects, check out our other categories like Compact Cat Poles, Eco-Friendly Cat Poles, and Luxury Cat Poles.
Frequently Asked Questions
How tall should a DIY cat pole be?
It depends on your catâs preferences. Most cats enjoy poles that are at least 3 feet tall, but you can adjust the height based on your space and cat size.
Can I use old furniture to make a cat pole?
Absolutely! Re-purposing old furniture can be a creative way to build a cat pole. Just ensure all parts are safe and secure.
What is the best material for scratching surfaces?
Sisal rope and carpet are both excellent choices, as they provide the right texture for scratching.
Pros
- Customizable to fit your home and cat's needs
- Cost-effective compared to store-bought options
- Engaging DIY project
- Can be made with eco-friendly materials
Cons
- Requires time and effort to build
- Potential for mistakes if not planned properly
- May require tools and skills
Image Gallery
